New Brand, Who Dis?
After reading How to Market Yourself by swyx, I got inspired to revamp my online presence starting with the visual aspects of my brand.
I identified two key components of my online brand: social profiles (Twitter, GitHub, LinkedIn, Facebook…), and my website. I noticed that I wasn’t being consistent across them. I had two different profile pictures and different bios across the platforms.
Social Profiles
The most important part for my social profiles — besides posting content — was to use a consistent profile picture. A profile picture works like a company logo. You want it to be easily recognized.
I wanted to have my face on it because faces attract user attention as they do for YouTube video thumbnails.
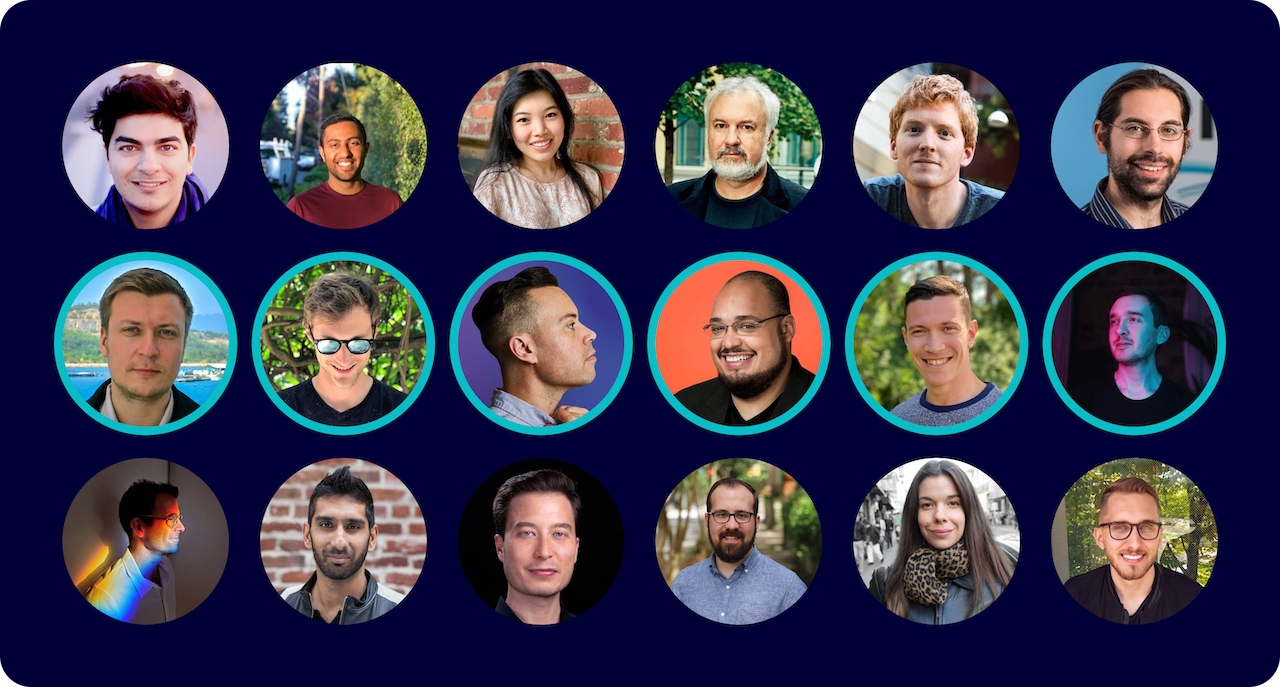
For identifying what kind of profile picture I needed, I scanned through all profile pictures of the people I follow on Twitter. The profiles I follow are more likely to match my branding preferences and my targeted audience. I selected 18 of them in a moodboard and highlighted the ones that caught my attention the most.

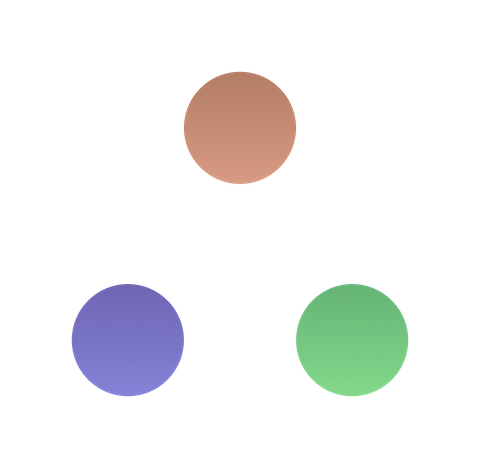
I noticed that bright pictures with a zoomed-in face and a high contrast with the background were the most eye-catching ones. So I calculated the opposite colors of my skin to identify the ideal background color for my picture.

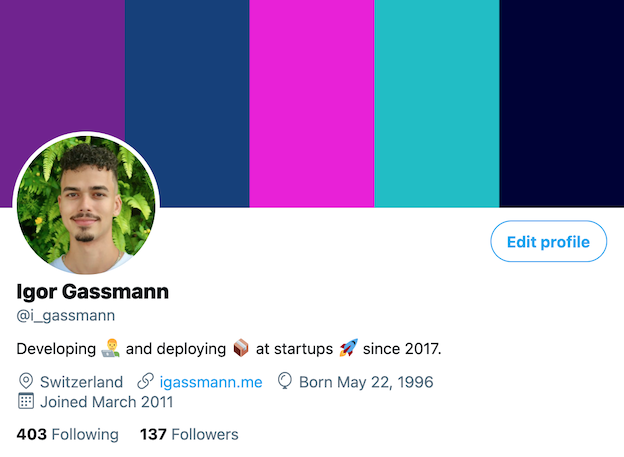
Then I found a scenario that matched the color and took some pictures of myself with the help of my girlfriend. Finally, with macOS Photos, I edited the picture to make it brighter and more colorful.

Personal Website
I already had an existing website made with the Gatsby starter, Lumen. However, it was devoided of a distinct visual identity and was missing some features I wanted to add.
Gatsby did well its job as a static site generator. But I wanted to take the oportunity to move to Next.js, which is my preferred framework for web apps.
Before designing the website, I began the work by identifying my goals and target audience:
- Sell myself to potential employers: startup founders
- Build an audience of readers: startup founders and influencers
From the goals, I listed the associated features:
- Sell myself to potential employers: startup founders
- About page
- Bio
- Tech Skills
- Portfolio page
- Profile picture
- Startup-oriented branding
- About page
- Build an audience of readers: startup founders and influencers
- RSS support
- Commenting
- Post sharing
- Hacker News
- Topics
- #technology
- #startups
- #liberty
- #ethics
- #culture
- #content-creation
With that, I had a clear image of what I wanted for my website.
Design
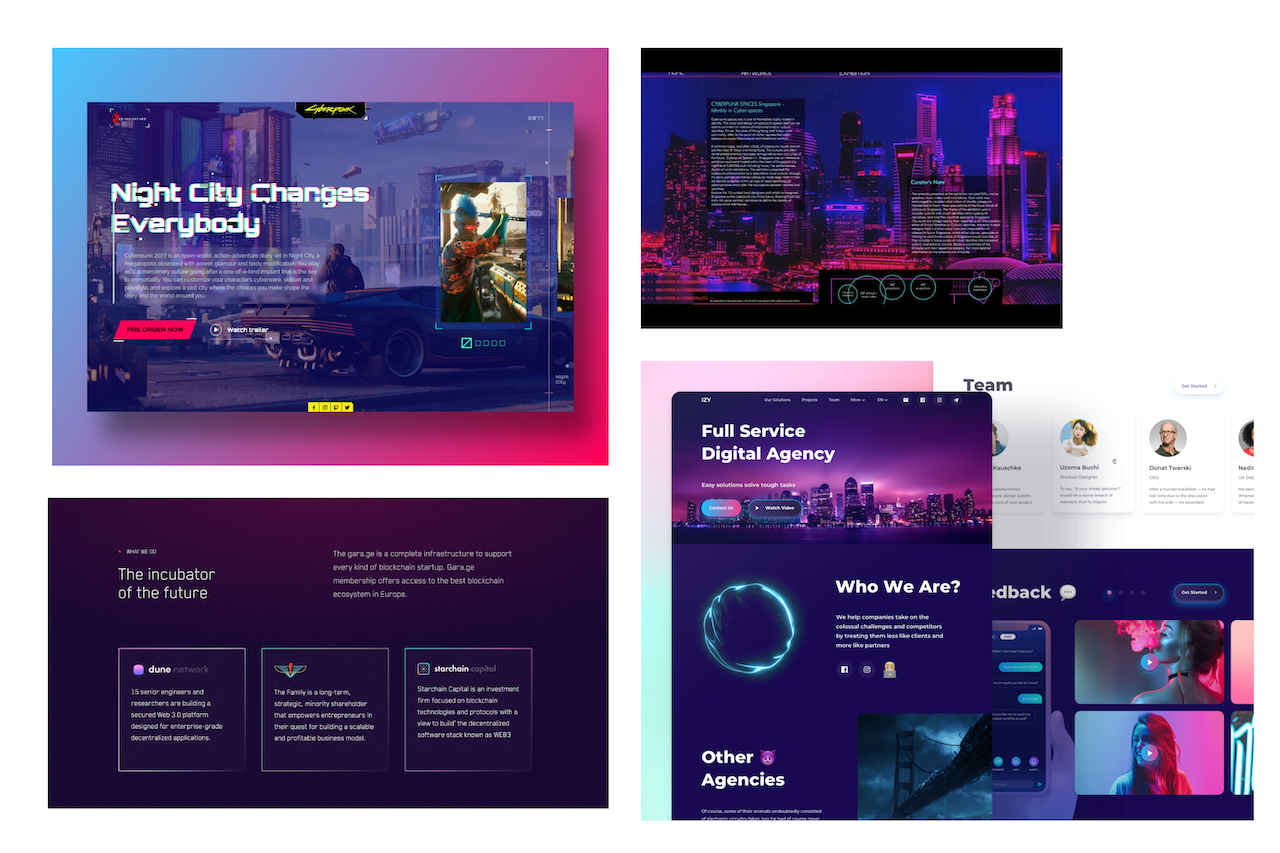
As I did for my profile picture, I put together a moodboard. I looked for websites that had a cyberpunk feeling which was the esthetic that I had an affinity for my brand.

Then I inspected the fonts and colors of the websites to help me choose the ones for my own. With all of that, I was able to define the colors and typography of my website.

I had everything I needed to fully design the website. I started by designing the desktop mockups on Figma since I expected my website to be primarily accessed on desktop.
I made sure to effectively use all useful Figma features such as Auto layout, components and, styles. After a few days of work, I had my all my mockups ready and filled with content for desktop, table, and mobile.
With the mockups, I built the prototypes that I shared with some trusted friends to receive early-feedback.
Finally, I made a design system and published all the designs on Zeplin for development handoff.
Development
For the first iteration of my website, I wanted to have it available in a week. So I decided to cut development features such as TypeScript and tests. The website didn't have much complexity. I wasn’t expecting many bugs while developing.
I started by implementing the
layout components
and the global SCSS code. Then I worked on a page-by-page basis until arriving at the
posts page.
This page contains the
Post component,
which uses react-markdown with a few
custom renderers
for rendering the content written in Markdown.
One of the renderers I implemented uses remark-directives for defining shortcodes such as for
embedding Figma files in my posts:
Figma Shortcode
::figma{url='https://www.figma.com/file/dBF5UcvvdzhuzEd4ZYTgux/?node-id=65%3A0'}
Shortcodes Handler
leafDirective: ({ attributes, name }) => {
  if (name === 'figma') {
    return (
      <iframe
        allowFullScreen
        src={`https://www.figma.com/embed?embed_host=share&url=${attributes.url}`}
      />
    );
  }
};
In a couple of days, I was able to fully implement the website and deploy it on Vercel.
I made the website public on GitHub for any interested person to access the implementation details.
.
├── public
│   ├── fonts
│   └── images
└── src
    ├── components
    │   ├── About
    │   │   ├── MainInterestsList
    │   │   │   └── InterestItem
    │   │   └── SkillsList
    │   │       └── SkillItem
    │   ├── BlogHomeButton
    │   ├── GoogleTagManager
    │   ├── Icon
    │   ├── Pagination
    │   ├── Post
    │   │   └── PostMetadata
    │   │       └── Tags
    │   ├── PostFeed
    │   ├── Profile
    │   └── Work
    ├── constants
    ├── content
    │   └── posts
    ├── hooks
    ├── layouts
    │   ├── DefaultLayout
    │   │   ├── Sidebar
    │   │   │   ├── Menu
    │   │   │   └── SocialLinks
    │   └── SingleColumnLayout
    │       └── Footer
    ├── lib
    ├── pages
    └── styles
Future Improvements
There are still many features and code quality enhancements I want to bring to the codebase that would make the codebase exemplar. I will be adding these in my free time. For now, I'm listing them on the website's README.md file.
- Migrate to TypeScript
- Set up ESLint, Prettier, commitlint, and lint-staged
- Set up Jest and Cypress
- Add tests
- Migrate to Tailwind CSS
- Add share buttons for posts
- Add commenting feature
- Add "Edit on GitHub" button to pages
- Set up git-based CMS Forestry
- Set up a newsletter
Final Brand
With the website done, I re-used its visual identity on my social profiles.

Now there was only one missing piece and also the most important: content.
To complete my new brand, I need to keep consistently producing content on my blog and social media. Starting with this blog post.
